
Adding Events to the Event Calendar
Once on the Event Calendar, click login in the top left, underneath the dark blue website header. Login with your MyGeorgiaSouthern credentials.

To post an event, click on Submit an Event. Now, fill in the fields to add your event information.
General Event Fields
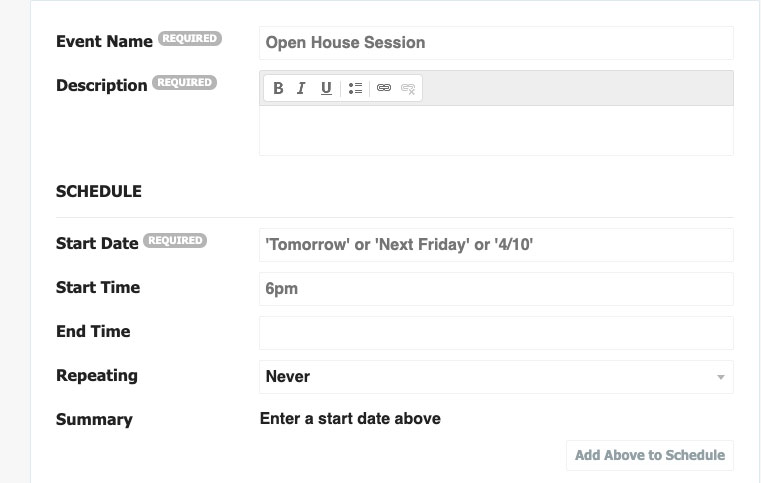
- Event Name (required): This will be displayed as the event’s name in the main listing and on corresponding details pages.
- Description (required): There is no character limit in the description area, so please be sure to include as much information about your event as possible. You may also add links to this area.
- Start Date (required): There are several ways you can enter a date: Oct 3, October 3, 10/3, “Next Friday,” “Tomorrow,” 10/3/19, etc. As you type the date below, the field will update accordingly.
- Start / End Time: Use “6pm,” etc. Events do not require these times, but if there is an end time then there should be a start time.
- Repeating: By default events are not set to repeat, but you have the option of setting them to repeat daily, weekly or monthly.
Tips
- When you type in the name of your event, the system will automatically check for duplicate entries to avoid multiple listings for the same event.
- No need to add event location in the Description box. You’ll have space to do that in the Location fields.
- No need to add an End Time.
- Leave the “Repeating” dropdown menu to “Never” if this is a one-time event.
Location
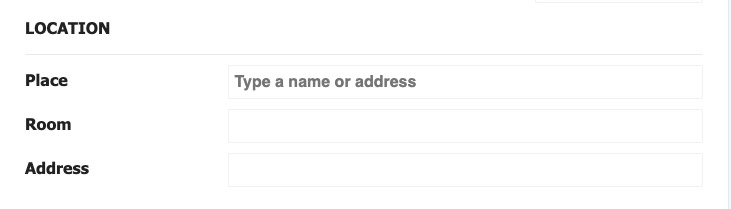
- Place: Type in the name of your event location. One your event is accepted the name will then show up with an attached address so that viewers know exactly where to go.
- Room: This can be words or numbers
- Address: If your event will be held at an on campus location, there is no need for an address. However, if your event is not recognizable as an on campus location, please provide an address so that others know exactly where it is located.
Additional Details
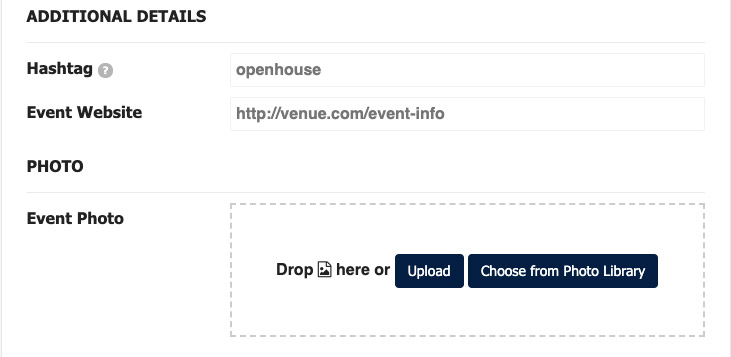
- Hashtag: Use this field if your event has a hashtag that goes along with it. There is no need to include the hashtag symbol, it will generate that for you once approved.
- Event Website: If there is a website accompanying your event, this is the place to put it. Just copy the URL from the website and paste it in this box.
- Photo: Drag an image from your computer into the box to be uploaded or click on the Upload square to pull from your computer. By clicking on Choose from Photo Library it will open a small window to browse previously uploaded photos (this pool is not searchable).
Tips
- Photos are optional, but add to the visibility of your event listing. If you do not upload a photo, a placeholder photo will appear, or a photo of the venue will appear (if it exists).
- If you “Choose from Photo Library” you will be prompted to choose from those already in the system.
Filters
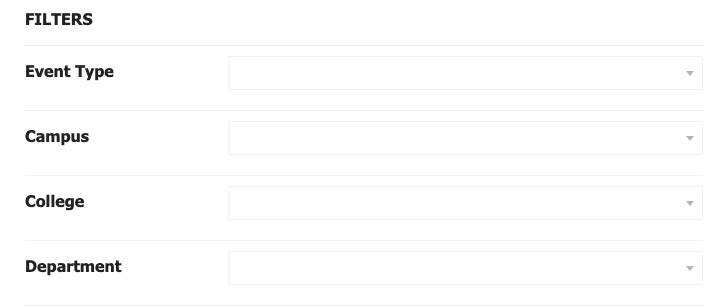
- Filters: Select all that apply.
Tips
- Event type could be a workshop, lecture, conference, etc. You will have access to specific filters based on your role.
- You should select only those filters that apply. The event will still show on the calendar.
- ALWAYS remember to select which campus the event will be held.
- If you want an event to show on both the college and the department, please select both a college and department filter.
Ticketing
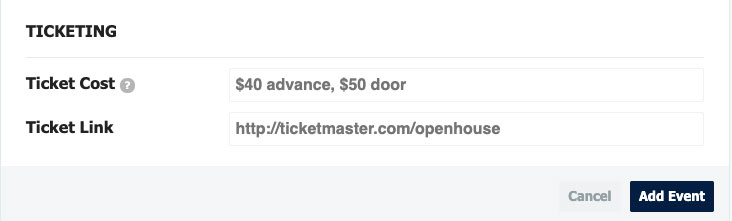
- Ticket Cost: Enter any number with accompanying text, such as $50 door. If the event is free, then leave this field black or enter “free.”
- Ticket Link: This can be any URL. If the price is entered for ticket cost then this button will display “Buy Tickets,” but if there is no cost or the event is free, this button will display “Register.”
Finally, once you’ve entered all your information, click “Add Event” and you are done! Once you’ve saved your event, you can click “View Event” (in the blue bar, on the right) to see it.
Approval
After adding the event, the submitter will be taken to the event’s landing page where they can access the form for editing if needed.
At all times, the Edit Event button will be visible to the user who submitted the event and edits can be made at any time. However, if edits are saved then the event will become a pending event again and be removed from the public calendar until approved again.
All events submitted will need to be approved by your Event Admin (unless entered by a trusted user).
Last updated: 2/20/2020